
Sweetheart Bustier
I built my first sweetheart bustier with upcycled material.
It was the first time I tried to make a pattern and build a bustier.
It was a bit confusing to figure out my measurements from the directions in the video.
**HOW TO MAKE A SWEETHEART BUSTIER PATTERN WITH MEASUREMENTS | PATTERNS FOR S, M & L
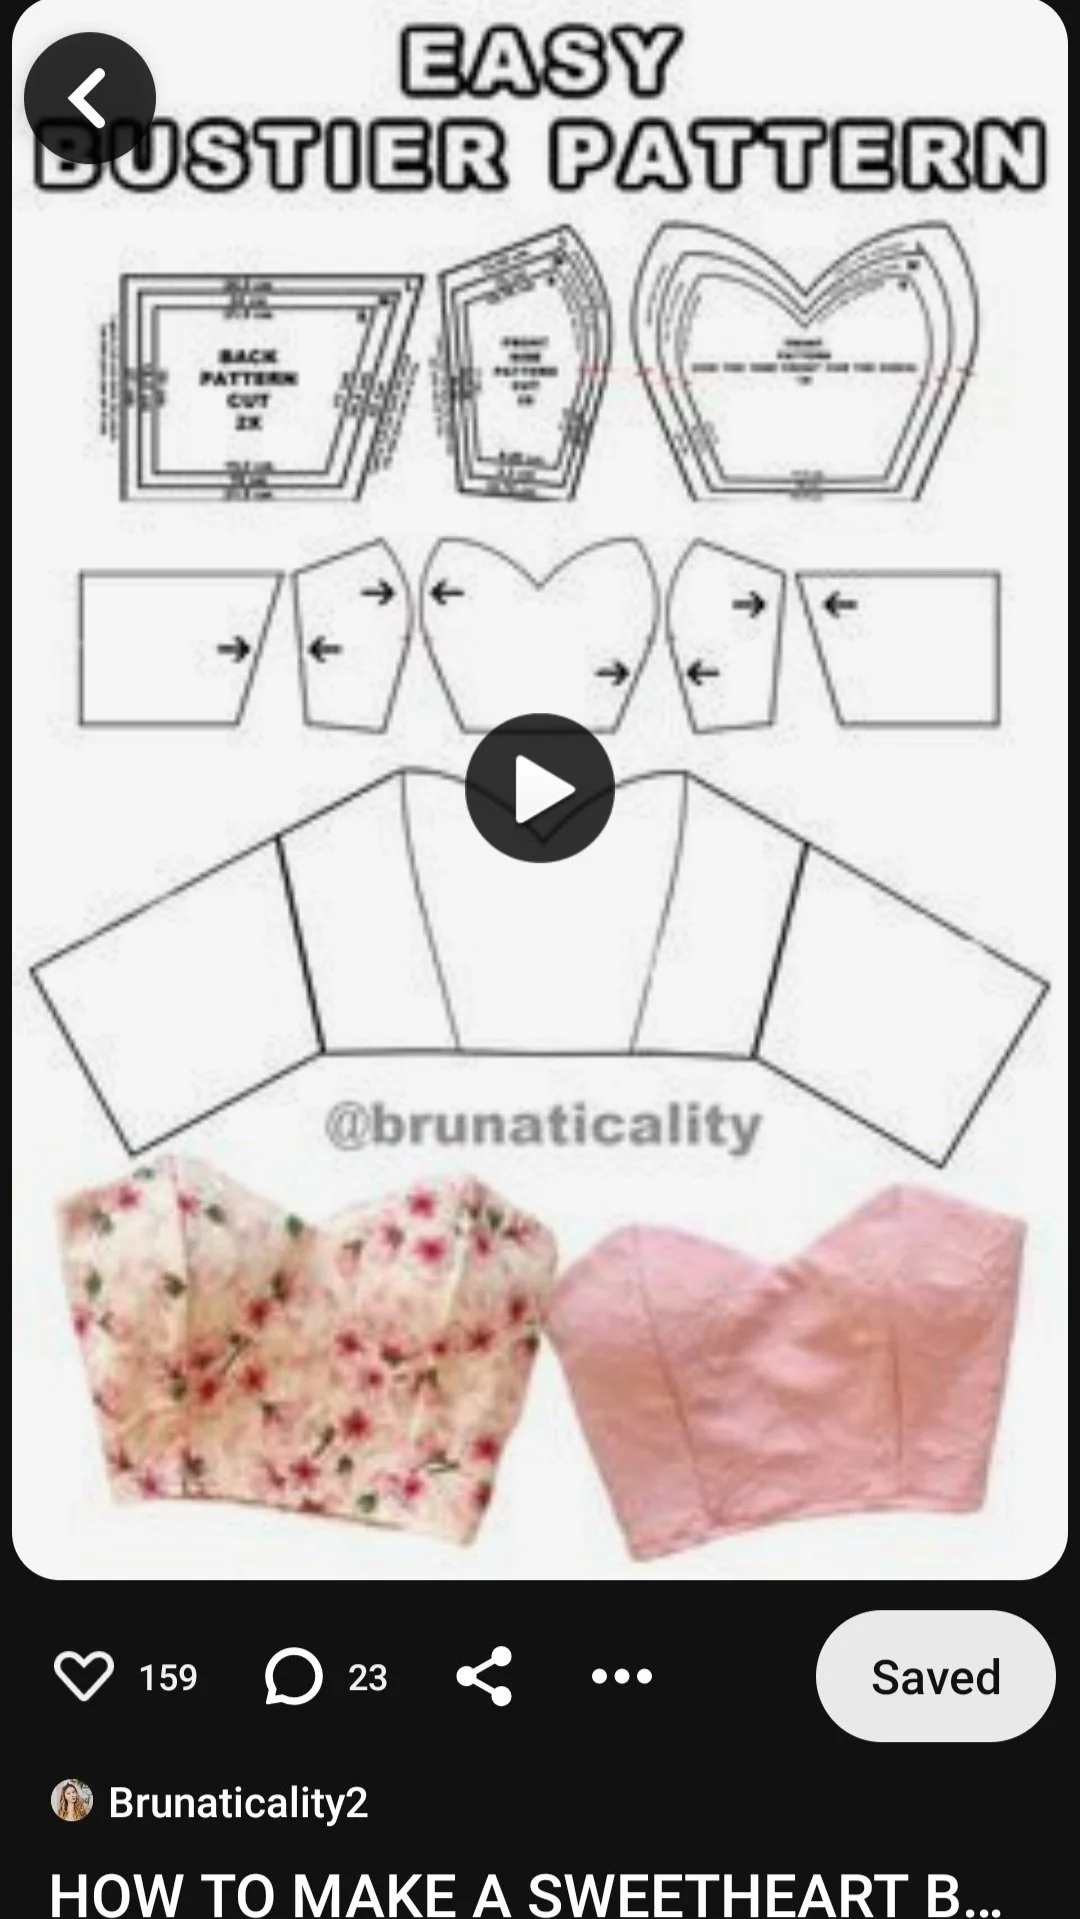
Originally sourced via Pinterest
I don’t know if I was just exhausted, or couldn’t follow directions, but it took way too long to get my measurements to work correctly.
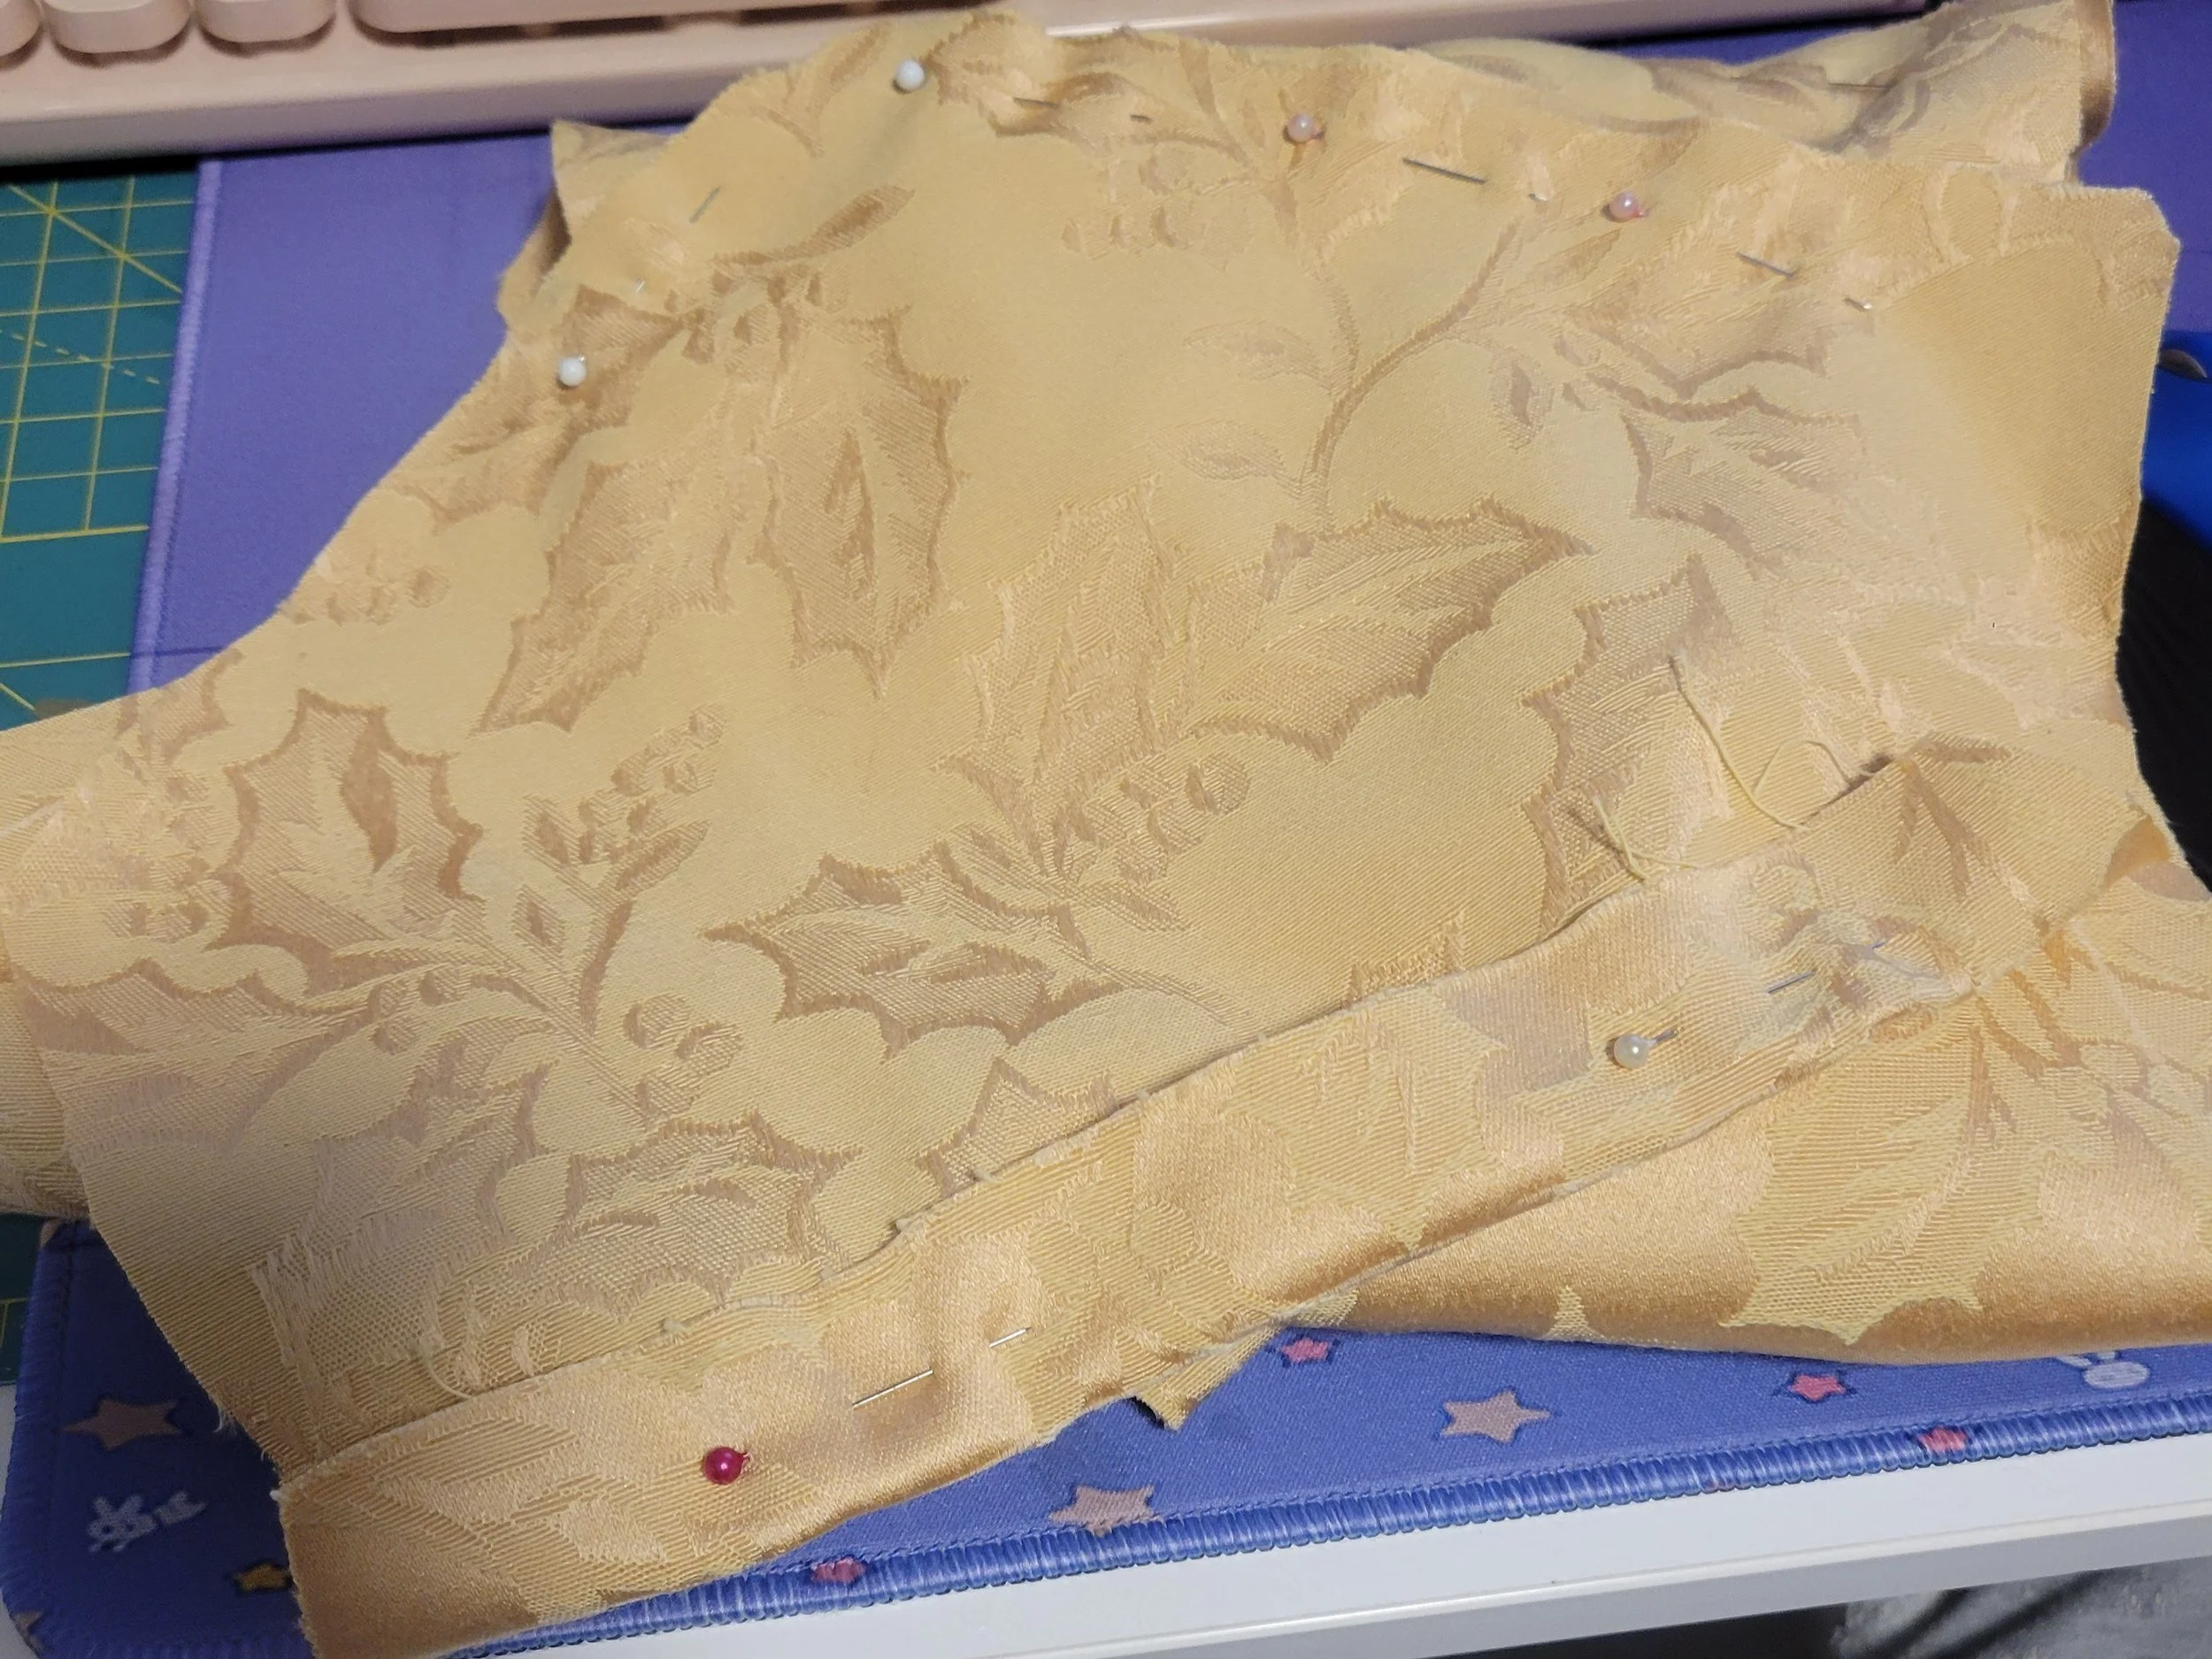
This was the fabric
An old tablecloth found at a thrift store for under $5
But with some work and effort I finally got it done … it took way too long to adjust the bustier to fit.
Part 1: https://youtube.com/shorts/-2Vb2WaLFxw?si=EDpDmfAwyktV6P1M
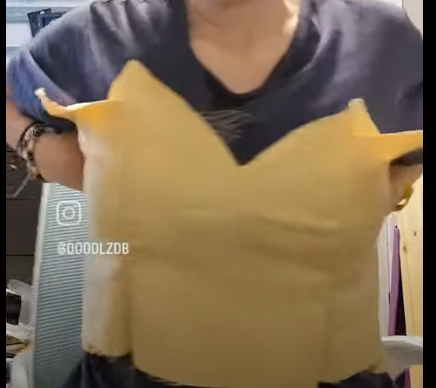
This was before I had the zipper fiasco.
Finding a zipper that would not only look ok with the colour and pattern was difficult with a tiny budget. There was only one place in town that carried the correct type of separating zipper.
Bias tape also vexed me. I had the wrong width for the ribbon. While hand sewing I tightened the fabric too much, which left the ribbon bias to scrunch up and twist awkwardly.
Part 2/Reveal: https://youtube.com/shorts/AklCP1VqxQc?si=qMb0i54w-cRMm6Ly
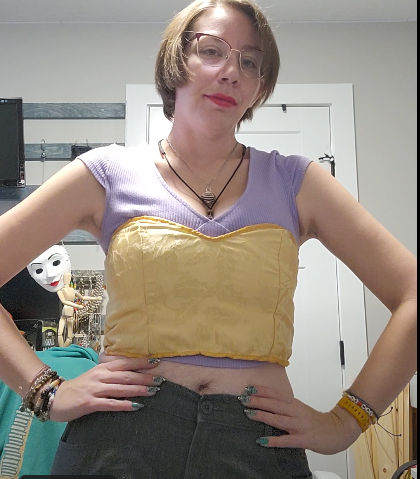
In the end I learned:
My body fluctuates regularly and I should work with stretchy materials, or add elastics for my own personal projects.
I tend to hold my fabric too tight when building, I should be more delicate sewing and pinning to avoid the wrinkling at the bias.
Bias should be way bigger then anticipated, I should be taking excess fabric and cutting them into strips, avoiding ribbon bias.
And most importantly…
BUILD A MOCKUP FIRST!! - This is exactly why it turned out too small in places and not lined up the way I wanted.
This was not at all what I planned it to look for the final piece, but I learned a few lessons that taught me many new techniques.
And if I didn’t fail, I wouldn’t know how to fix a problem and succeed for the next build…
Coming up: “Redemption Boxers” and a Duct Tape Dress Form